Making a custom Advanced Output material expression accessible from Compute Shaders in Unreal Engine 5
That title is a mouthful, but in short, this recipe provides ways to:
- Expose more fine-grained control of backend systems to artists via material graphs.
- Drive/read back gameplay-critical values from material graphs to the CPU.
1. Setup
1.1 Scaffold a material compute shader:
1.2 Scaffold an output-only material node:
If you don’t have the
shadeupcommand installed follow this to get it.
2. Reduce permutations
First we’ll need to change a few parts of our compute shader, we can start by reducing the number of permutations that are compiled with:
AdvancedOutputComputeShader.cpp:70
const bool bIsCompatible =
Parameters.MaterialParameters.MaterialDomain == MD_Surface
&& Parameters.MaterialParameters.BlendMode == BLEND_Opaque
&& Parameters.MaterialParameters.ShadingModels == MSM_DefaultLit
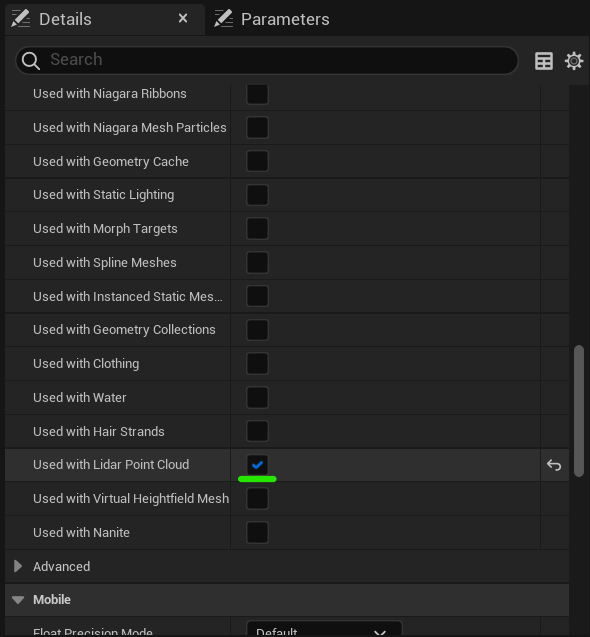
&& Parameters.MaterialParameters.bIsUsedWithLidarPointCloud; // Add this line hereBy adding a check for bIsUsedWithLidarPointCloud we can greatly reduce the number of materials that need to be compiled against our compute shader. Of course, this means that any shaders you do want to use will need to have the UseWithLidarPointCloud check box ticked off in the material editor details panel.
Unfortunately, this is a hack and makes this a bit unintuitive because you now need to remember to check that box off. (We’ll fix this next)
You can find a list of all the available
bIsUsedWithXYZflags here
3. Permutation error message
We should add an error message when the user attempts to call a material that doesn’t have the bIsUsedWithLidarPointCloud.
Add this block right after line 130:
AdvancedOutputComputeShader.cpp:130
...
bool bIsShaderValid = ComputeShader.IsValid();

// START Add this block
if (MaterialRenderProxy && !MaterialRenderProxy->GetMaterialInterface()->CheckMaterialUsage_Concurrent(MATUSAGE_LidarPointCloud)) {
	#if WITH_EDITOR
	GEngine->AddOnScreenDebugMessage((uint64) 5643264352356, 6.f, FColor::Red, FString(TEXT("Can't use the specified material because it has not been compiled with bUsedWithLidarPointCloud.")));
	#endif

	bIsShaderValid = false;
}
// END Add this block

if (bIsShaderValid) {
...
4. Get values in the shader
Next we’ll add a call to GetShadeupAdvancedMaterialOutput to the shader side.
Replace the line:
AdvancedOutputComputeShader.usf:30
OutputColor[0] = float4(GetMaterialBaseColor(PixelMaterialInputs), 0);with:
AdvancedOutputComputeShader.usf:30
float num1 = 0;
float num2 = 0;

#ifdef NUM_MATERIAL_OUTPUTS_GETSHADEUPADVANCEDMATERIALOUTPUT
	#if NUM_MATERIAL_OUTPUTS_GETSHADEUPADVANCEDMATERIALOUTPUT > 0
		num1 = GetShadeupAdvancedMaterialOutput0(MaterialParameters);
		num2 = GetShadeupAdvancedMaterialOutput1(MaterialParameters);
	#endif
#endif

OutputColor[0] = float4(num1, num2, 0, 0);
This will make sure the output node exists and that we don’t have a compilation error when it doesn’t.
5. Usage
Now we can build and launch the editor to begin playing with our new custom node!
5.1 Create a material
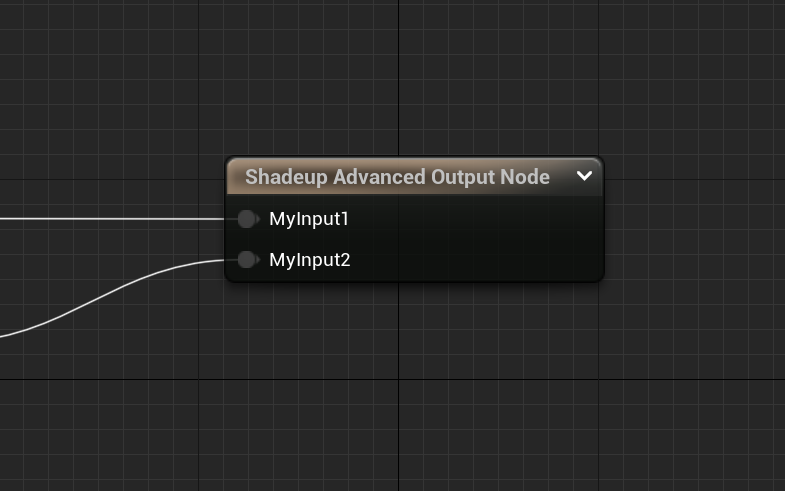
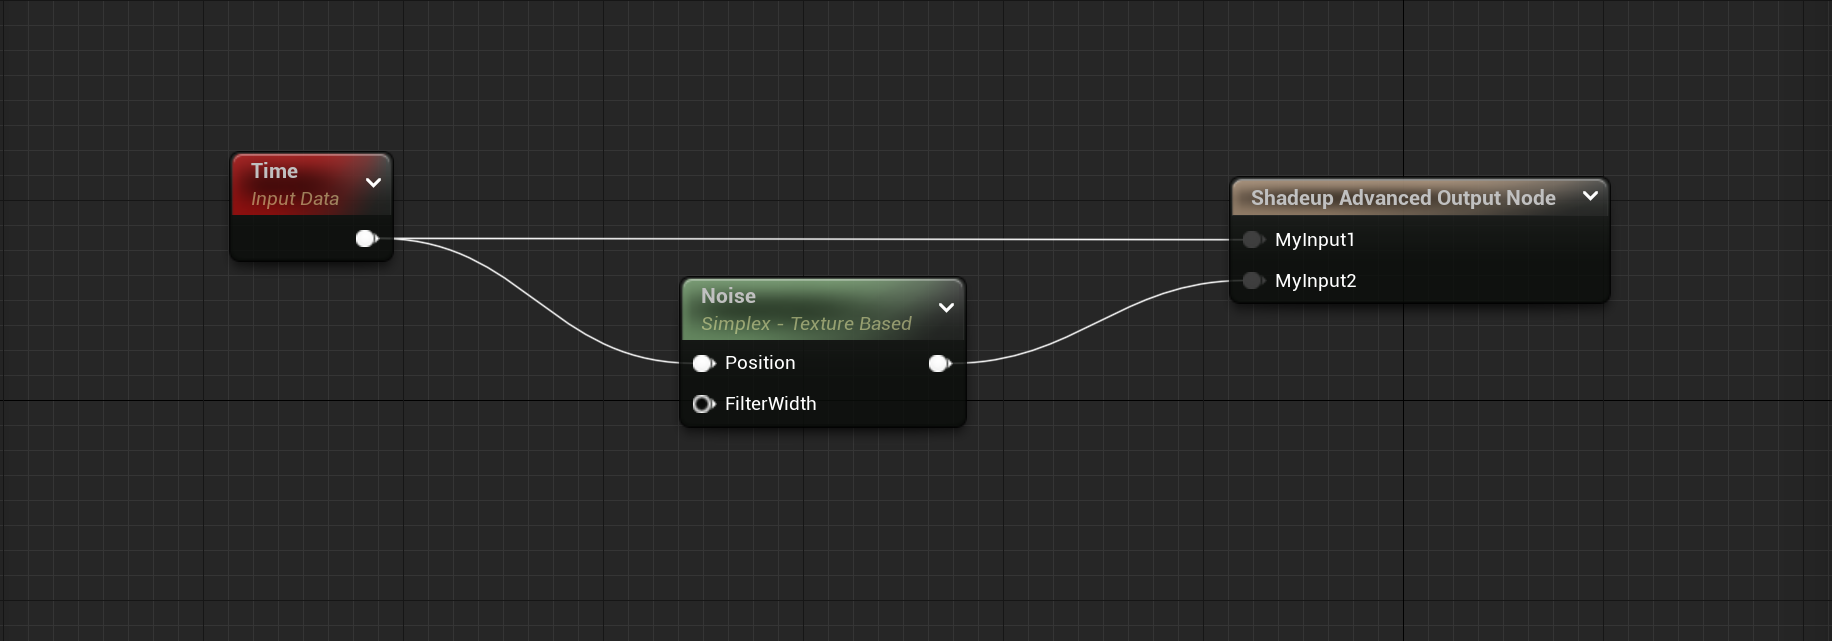
Add the Shadeup Advanced Output Node and hook up some inputs:
bpue/54-fvbg1

5.2 Enable the permutation
Tick off the Used with Lidar Point Cloud checkbox in the material details panel

5.3 Call from BP
Open up a level blueprint or create a new actor BP and insert the following nodes:
bpue/zlvmtoyq


6. All done!
You should now have values coming from a material graph, into a compute shader, over to BP, and finally landing on your screen.